Ensure Your Installation Day is a Success
Thinking about installing a Cedar & Stone sauna in your backyard?
Whether you’re a homeowner or contractor, this video walks you through everything you need to know to prepare your site for a smooth, stress-free delivery day.
Join our Project Manager, Johnny, as he breaks down the do’s and don’ts of sauna site prep, from creating a solid pad foundation to making sure there’s room for our Shed Mule to work its magic. We’ll walk you through ground surface requirements, slope considerations, footing options, access points, and final delivery details.
Site Preparation Guide:
We’re thrilled to take you through the exciting journey of getting your sauna installed. The fun starts during the design phase, where our sales team and project manager will work with you to make sure everything goes smoothly. We’ll dive into the details like how accessible your site is, the best way to position your sauna, and what preparations we need to make beforehand.
Now, a little heads up: it’s your responsibility to get the site ready ahead of our arrival, but our team will ensure you have all the information ahead of time for site prep to be successful. All these details about specific site requirements can be found in your Build Overview, Purchase Order, and any Change Orders we’ve updated.
Depending on your unique project, prepping the site might involve a few things. This can include marking existing utilities, leveling the ground where the sauna will sit, or making sure there’s a smooth path for access. You may also need to compact some crushed rock and run electrical or plumbing lines to the site.
Please note that if anything changes at your site—like unexpected ground conditions or new landscaping features—please keep your project manager in the loop. Communication is key! This way, we can adjust our installation plan and prep requirements as needed.
Below, we’re sharing the steps it’ll take to create backyard sauna perfection when working with our team.
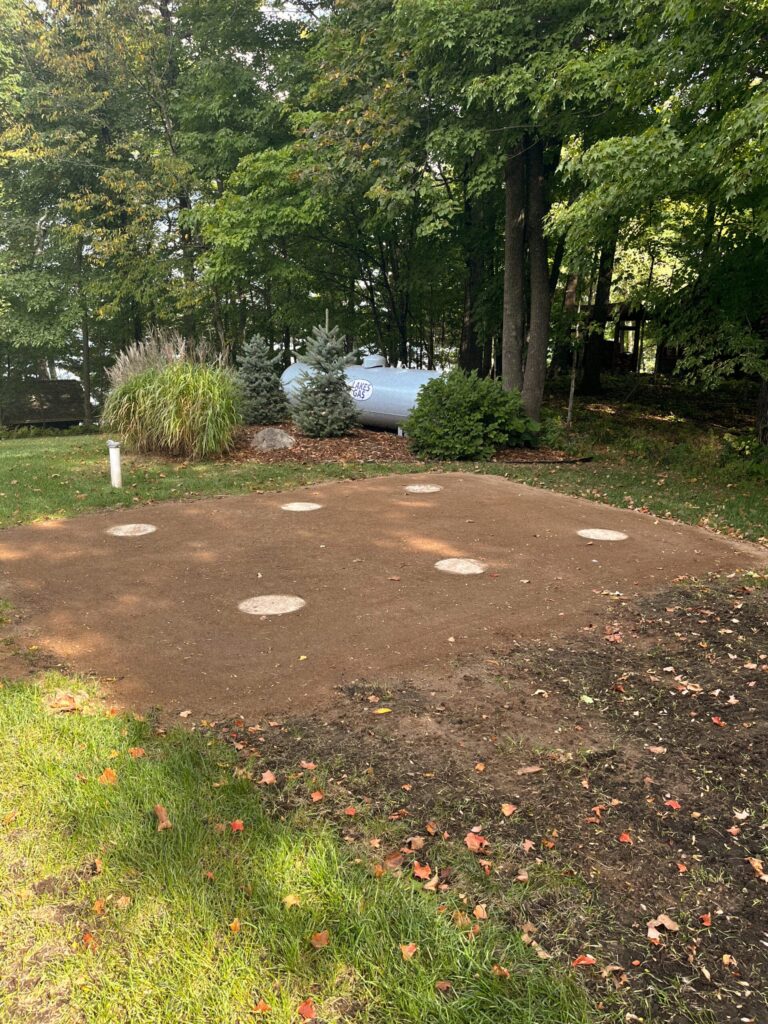
Ground Prep & Footings: Laying the Foundation for Your Sauna
As we gear up for your sauna installation, let’s talk about an essential part of the process: ground preparation and footings! Ensuring a solid foundation is key to a safe and long-lasting sauna experience. So, here’s what you need to know to get started:
Your sauna will require frost-proof footings and a compacted gravel base. This combo not only enables a safe installation but also provides excellent drainage to keep your sauna in working order for decades to come. You can find the sauna location detailed in the attached site plan. If you’re thinking about changing the location, please reach out to your Cedar and Stone project manager. We’ll assess the new spot to see if it’s a good fit for installation.
Here’s the Ground Prep Breakdown:
- Footing Layout: Our team will provide you with a diagram that outlines the footing layout. Share this with a local contractor! Each footing needs to be a sonotube bell footing. The top surfaces of all footings must be level with one another. The exact depth and diameter of the footings will depend on your area’s frost line and soil conditions, so your local contractor will need to confirm those details. Each sonotube will need to support a hefty load of 2,500 pounds!
- Gravel Pad: The gravel pad should be at least 6 inches of class 5 crushed rock (or a similar material available locally). Make sure to compact the gravel to finish level with the tops of the footings. Remember, the gravel pad and footings should be flush with the surrounding ground—no elevated heights! Depending on your soil conditions, your contractor might suggest a deeper gravel base, and that’s totally okay. For optimal access, extend the gravel pad 2 feet beyond the sauna margins on each side, as shown in the diagram. This will allow the dolly wheels and equipment to easily maneuver the sauna into position.
A quick note: avoid non-compacted gravel, pea gravel, or any soft surfaces—they’re no good for this type of project.
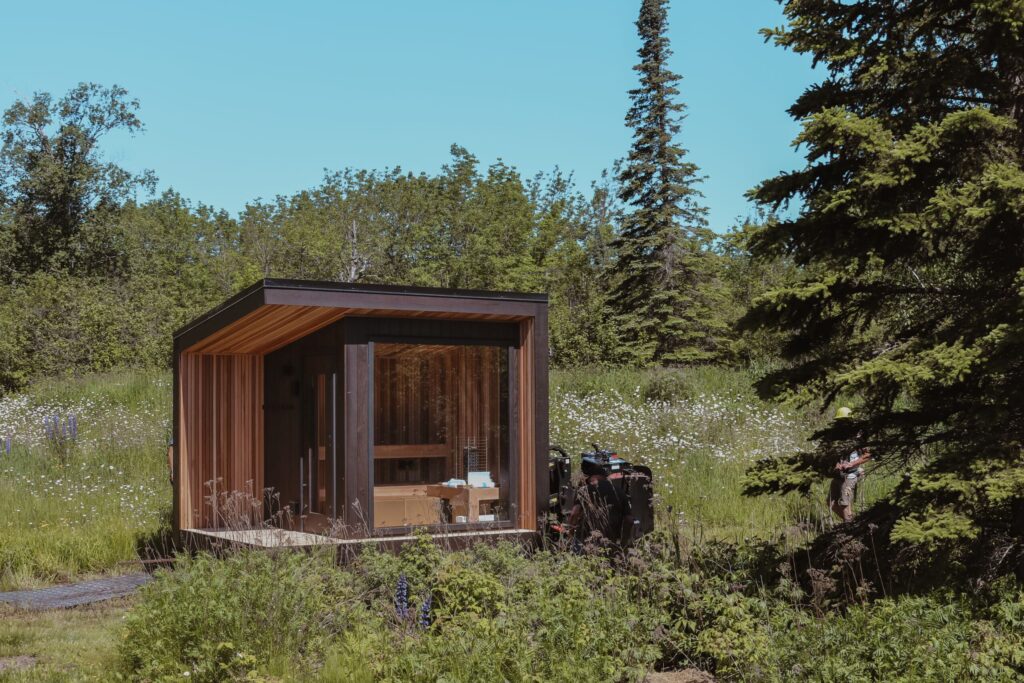
Approach Path: Preparing for Smooth Sauna Installation
Let’s discuss an often-overlooked but essential aspect: the approach path. Whether we’re using a shed mule to transport your sauna across the ground or employing a crane for the lift, maintaining a clear and accessible path is crucial.
Important Path Prep Steps:
- Clear the Route: The approach path needs to be free of obstacles, adhering to the specified width and height outlined in the site plan. Be prepared for some trimming or even removal of trees and landscaping, if necessary.
- Crane Setup: If we’re using a crane for installation, take note! The exact setup location for the crane is marked on your site plan, and this area must stay clear of any obstructions. There may be specific requirements from the crane operator, so let’s be on top of those.
- Ground Stability: If your sauna is being transported over the ground, it’s vital to ensure that the surface is firm enough to support the weight of both the sauna and the equipment. Your project manager will help schedule the installation when the soil is dry and stable. If the ground is too soft or muddy, we might ask you to compact the soil or create a gravel path to ensure a solid base for the journey.
- Smooth Transition: For ground installations, the grade and slope of the approach path are extremely important. This includes ensuring a smooth transition onto the gravel pad. If any leveling of the pad area is needed, we might have to do some extra work to facilitate a gentle slope from the path to the pad.
- Path Width Requirement: To ensure a successful installation over the ground, we require 12-foot wide pathways, unless stated otherwise. This width allows enough room for the safe maneuvering of the sauna equipment.
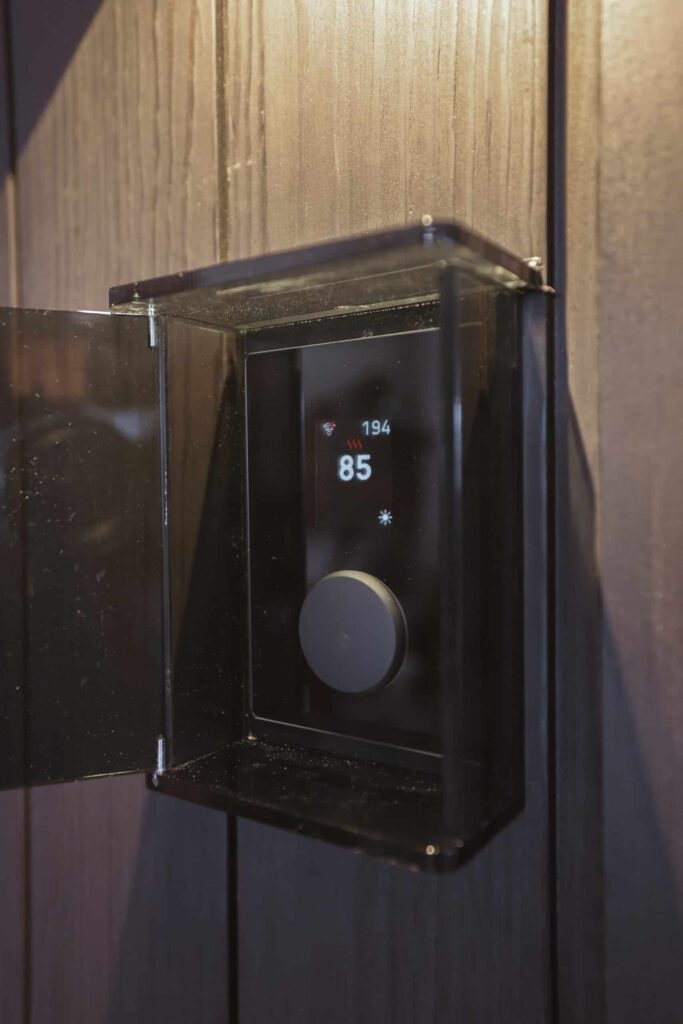
Electrical: Powering Your Outdoor Sauna
When it comes to getting power to your sauna, understanding the electrical requirements is essential. Depending on your heat source and sauna size, these requirements can vary widely. Some saunas operate on a fully off-grid system, utilizing wood-fired heat and solar power, while others rely on electricity, similar to RV setups.
Key Electrical Considerations:
- Local Installation: It’s vital that any necessary power supply is run to the installation site by a qualified local electrician before the sauna delivery. This preparation ensures we can set everything up seamlessly upon arrival.
- Power Cable Ready: Your sauna will come equipped with a power cable and plug, which will be ready to connect once the sauna is in place. The specific location of the receptacle can be found on your site plan, ensuring proper placement.
- Outlet Installation: Your electrician must install an oversized, weather-rated outlet cover. This should be mounted either on an adjacent wall of an existing structure or on a treated 4” x 4” post. If choosing the post option, please ensure the power supply is run underground to protect it from the elements.
- Coordination is Key: Your local electrician should coordinate with your site prep contractor. This collaboration is essential to locate any existing utilities ahead of time and streamline the installation process to minimize labor costs.
- Support from Your Project Manager: Don’t forget! Your Cedar and Stone Project Manager is here to help with the coordination of contractors and site preparation. We’re in this together to ensure your sauna installation experience is as efficient and enjoyable as possible!
Power Service
Your sauna will require one of the following electrical supplies:
- No electrical needed/off-grid
- Solar powered, with additional shore power available via 120v extension cord/trickle charger
- 120v 20 amp receptacle (NEMA 5-20R)1
- 240v 60 amp receptacle (NEMA 14-60R)2
- 240v 100 amp receptacle (100 amp pin & sleeve female receptacle)3
Breakers
Some sauna stove manufacturers specify that electric stoves should not be GFCI protected and that
the stove may cause nuisance tripping of GFCI breakers. We recommend that non-GFCI circuits be run to
your sauna to meet the stove manufacturer’s specifications. Our internal circuits in the sauna, other
than the stove itself, are GFCI-protected. However, your electrician may be required to install a GFCI
circuit by code. If your electrician is required to install a GFCI breaker, and the breaker does trip
regularly, please call us to troubleshoot the problem.
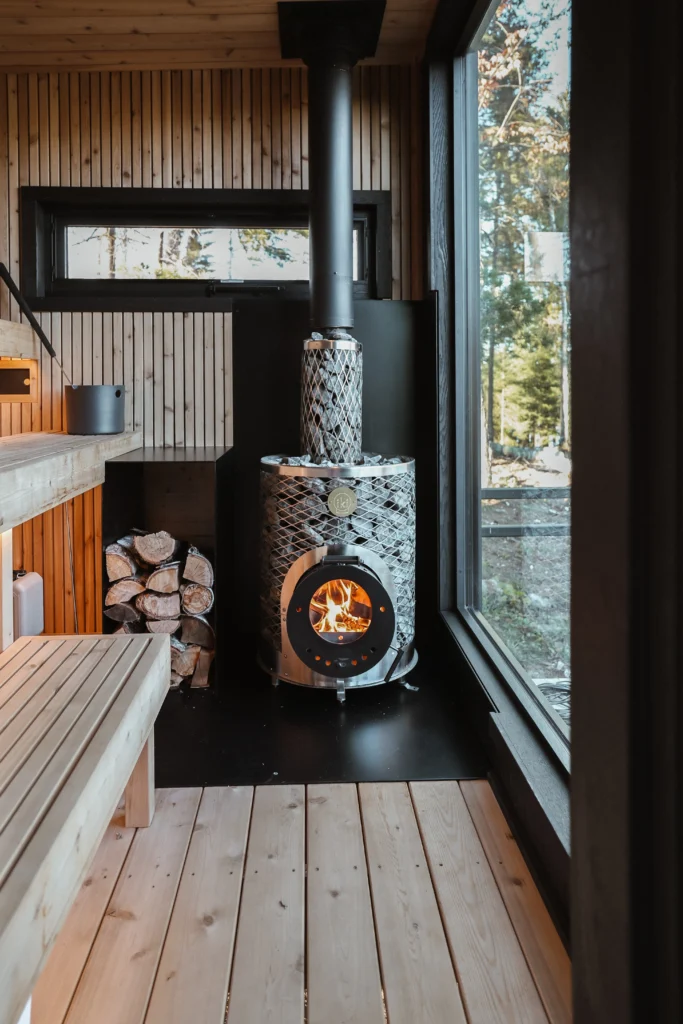
Considerations for Choosing a Wood-fired Stove
Wood-fired sauna stoves require some maintenance for safe operation.
We recommend:
- All wood-fired saunas be placed in locations with no overhead tree cover.
- Removal of any trees or vegetation that could be impacted by the sauna.
- Using only seasoned or kiln-dried wood to promote clean burning and efficient combustion.
- Regular cleaning of the hearth and surrounding areas.
- Annual chimney inspection and/or cleaning.
- Refer to sauna stove manufacturer owner’s manual for additional guidelines for your specific stove.


Water: An Integral Step in the Thermic Cycle
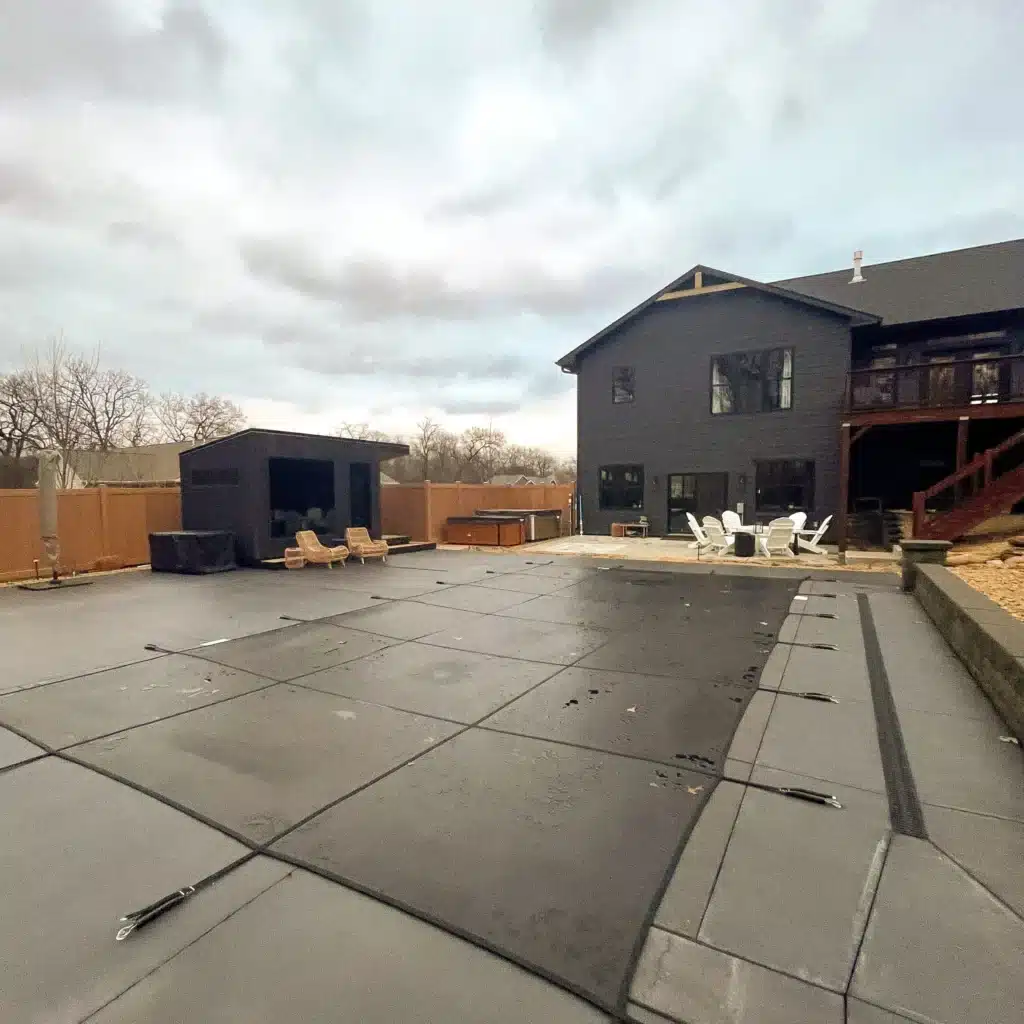
Water plays a pivotal role in your sauna experience, not just for pouring over hot stones but also for various bathing options that enhance relaxation and rejuvenation. Thoughtful planning regarding water usage and drainage is critical when constructing your sauna site.
Water Features to Consider:
In addition to the sauna, you might want to incorporate a variety of features such as:
- Pools
- Hot tubs
- Cold plunges
- Outdoor showers
- Waterfall showers
Important Considerations:
- Professional Help: We highly recommend engaging a local contractor or plumber to navigate all your water supply and drainage needs. Their expertise ensures everything is installed correctly.
- Gravel Base: The specified gravel base in this guide is adequate for standard drainage under and around your sauna, helping to manage excess water effectively.
- Additional Drainage: If your design includes extra water features like showers or pools, you may need to implement additional drainage solutions to accommodate increased water flow.
- Seasonal Use: In most climates, the water systems in saunas are designed for seasonal use only. It’s essential to winterize these systems during colder months to prevent damage to pipes and the sauna structure itself.
Waterfall Buckets & Showers
If your design includes a waterfall bucket or shower, keep in mind that they are also meant for seasonal use and must be winterized during winter months. Plumbing connections for your shower will typically be on the exterior wall of the sauna.
- Waterfall Buckets: Require only a cold water connection.
- Waterfall Showers: Need both hot and cold water supplies.
There are several ways to set up your water supply:
- Garden Hose: The easiest method involves using garden hoses from your house spigots to the sauna.
- Underground Lines: For a permanent solution, a plumber can install underground water lines and set up spigots with connector hoses at the sauna site. Ensure that they provide an easy way to winterize these lines.
If the build includes a waterfall bucket or shower, consider additional drainage under the shower area. This can be as simple as a well-draining gravel base or more complex, such as a dedicated drain pan built into the ground. Your plumber and landscaper can advise on the best options for your site.
Your site plan will detail the location of the bucket or shower where drainage provisions are needed.
Winterizing Your Sauna Plumbing
To winterize your sauna plumbing:
- Disconnect the water supply hoses.
- Open all the valves to allow gravity drainage and leave them open for the winter.
- For a waterfall shower, ensure you open both the supply valves on the sauna and the shower valves.
- Disconnect the handheld sprayer from the waterfall shower and store it indoors during winter.
- Waterfall buckets should be disconnected from their supply hose, lifted off their brackets, and brought inside for winter storage.
What to Expect on Delivery and Installation Day
Access: Ensuring Smooth Delivery and Installation
When it comes to a successful sauna installation, access is key!
Delivery Requirements
To ensure your sauna is delivered without a hitch, please take note of the following requirements:
- The delivery truck requires a road that is at least 12 feet wide to approach your property.
- A level and hard ground surface is necessary for safely unloading the sauna. This could be the driveway, the nearest road to your property, or level ground close to the installation site.
Your Cedar and Stone project manager will assess and identify the best location for unloading.
If your sauna is to be installed with a crane, please be aware that the crane will have its own requirements regarding road widths. Your project manager will communicate any specific needs well in advance of your installation date.
Impact to Site
Please be aware that using machinery on grass or landscaping typically results in minor damage, such as wheel ruts and torn sod. While our team will make every effort to minimize these impacts, some disruption is inevitable.
To protect your outdoor space, we recommend completing any final landscaping, hardscaping, and planting after the sauna installation is finalized.
Time on Site
Your Cedar & Stone Project Manager will work closely with you to schedule a suitable installation date and time. Most installations can be completed within one day; however, additional time may be needed depending on:
- The complexity of the project
- Site conditions
- Accessibility
Permitting: Navigating Local Regulations
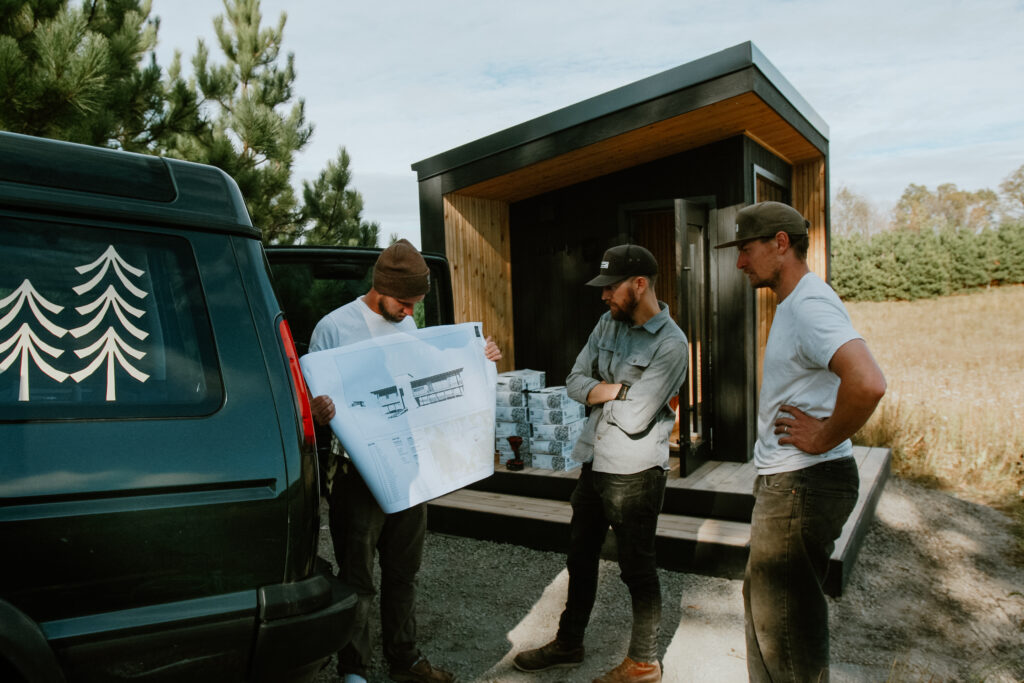
Navigating zoning, permitting, and inspection requirements can be a daunting task, but we’re here to help!
Understanding Local Regulations
The regulations concerning saunas vary greatly depending on your location. Due to their relatively small size and non-habitable nature, building permits are often not required for saunas. However, to ensure compliance, we strongly recommend all property owners check with their local authorities and adhere to local regulations.
Local contractors engaged in site preparations are a valuable resource and may need to secure permits for their work. They can also provide insights into specific local requirements.
Most jurisdictions impose regulations concerning:
- Offsets from property lines
- Distances from lakes or rivers
- The number and size of accessory buildings
Additionally, lake associations or homeowners associations may have their own rules that must be considered. We encourage our clients to check with local authorities to understand any restrictions that may apply to their property.
Collaborating on Your Project
Once you’re informed about the local requirements for your project, we will collaborate with you to choose the best location for your sauna. We will also provide any necessary documentation, site plans, or other materials needed to assist you in obtaining the required approvals.
Have questions? Don’t hesitate to reach out. We are here for you at every step of the process ensuring white glove service from conception to completion.
Ready to begin your build? Schedule a free 30-minute consultation with our Sales Manager, Derek.
Learn more about bringing the ritual of sauna to your property or business: cedarandstonesauna.com/